I’ve been really into making caramels lately and continuing that theme this week. Also, it’s apparently summer now, so I’m not really wanting to do any baking at the moment. My kitchen is south-facing, and it was 27°C in here today (about 81°F). Summer? Yay! Heat? Not so much. I know that’s not that hot. But definitely too hot to be turning an oven on. I may just continue making candies and no-bake cookies until things cool off again.
Although making caramels when it’s this hot may not be my brightest decision. I even cooked these a couple degrees past what the recipe states, and they’re still sticky. They’re pretty much holding their shape, though, so there’s that.
Years ago, a friend of mine whose family is originally from Italy introduced me espresso with a twist of lemon, and showed me how to release the oils (not juice) into the coffee. I assumed it was an Italian thing, but I’ve since learned that not only is it not an Italian tradition, it was apparently originally introduced to mask the bitterness of poorly roasted or brewed coffee. Huh.
According to Illy’s website, “Lemon peel is not traditional in Italy. It is used to counteract the taste of over-roasted, bitter espresso. The oil in the peel blocks the bitterness. There is no need for lemon peel in a proper cup of espresso.”
This article on Serious Eats suggests a couple of origin stories for adding lemon to espresso, while this one at Garrubbo suggests it originated in France.
Personally, while I’m absolutely fine with drinking plain espresso with no additions (yum!), I quite like the combination of espresso and lemon, regardless of the quality of the coffee. Then again, I like lemon with just about anything.
So when I saw this orange espresso caramel recipe, my tastebuds immediately remembered that lovely combination – it may not be lemon, but it’s still a citrus. I had very high hopes. And I was not disappointed…
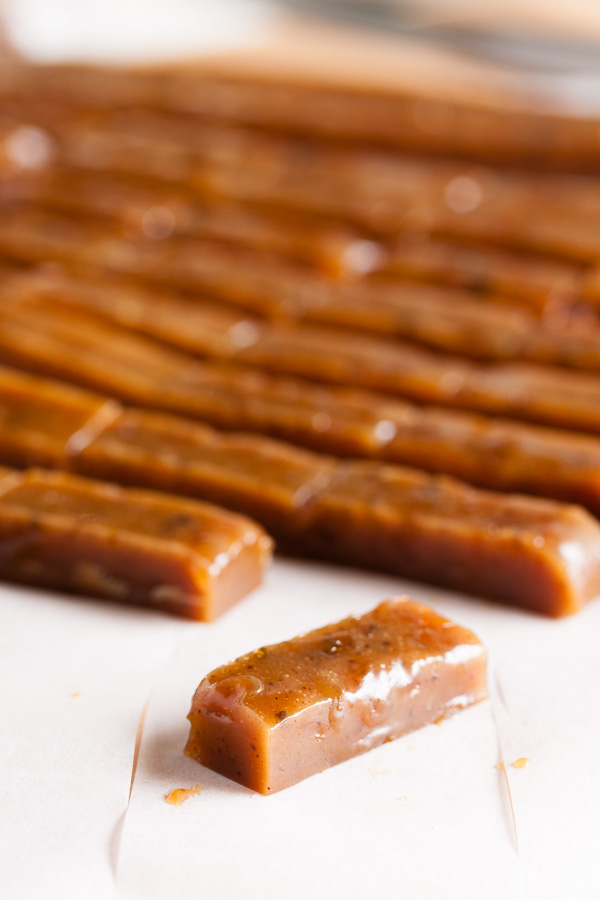
The flavour in these caramels comes from espresso powder and candied orange peel. Other than that, this is a basic caramel recipe with no unusual ingredients.
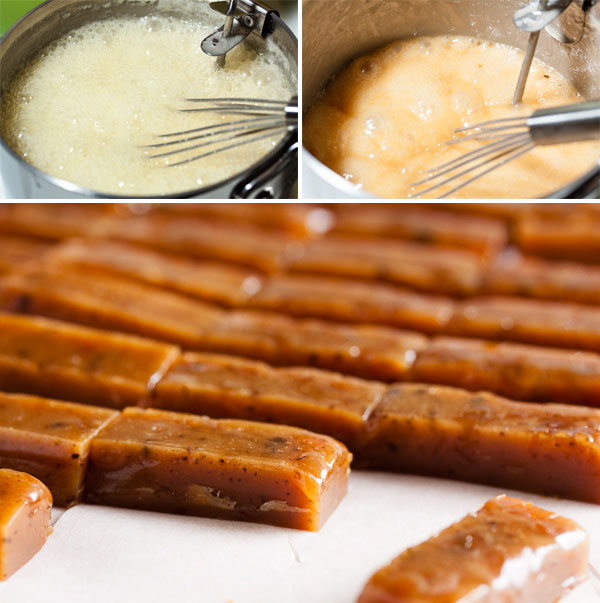
For this caramel, I opted to just follow the recipe as written. So in stark contrast to what I’ve done with the last few recipes, for this one, all of the caramel ingredients are simply heated to 248°F in a single pot, and the flavouring elements are added at the end off the heat.
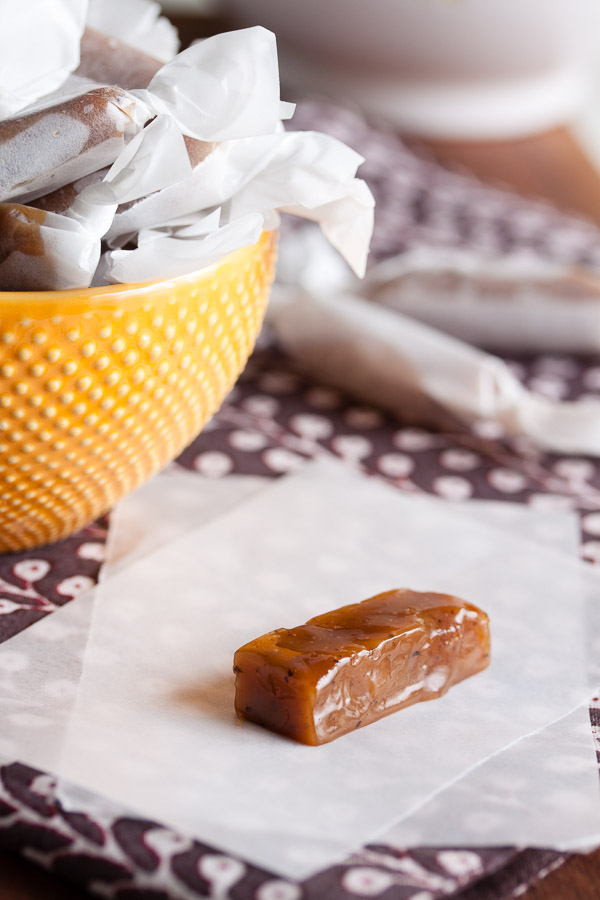
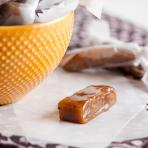
I had a little trouble with the espresso powder with this method – it didn’t have a chance to dissolve completely and I ended up with a few lumps in there (oops – flavour nuggets!). I’m not too worried though. You can see the little dark spots, but it doesn’t seem to have affected the flavour at all. And the flavour? Fantastic! I was expecting these to be heavy on the espresso, with a subtle orange. But they’re very citrus-y, and the espresso isn’t pronounced at all. It’s there, but it’s not too strong. Which surprised me, because when I made the chocolate espresso caramels a couple weeks ago, I only used 1 tablespoon of the espresso powder and they came out quite strong, and this time I used double that amount. I’m not sure whether it’s that the citrus has such a sharp flavour, or whether it’s the different cooking technique. Regardless, this is a nice balance of the two flavours.
I was liking it so much, that I decided to make it again, but using my modified cooking technique the second time.

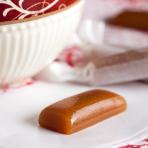
And it’s official – I definitely prefer the two-stage cooking technique. The second time around, the caramel is much less sweet with a more pronounced espresso flavour. The texture is a bit firmer, too – not too firm, but it’s holding its shape better. In addition to cooking the sugars separately, I added the espresso powder to the cream so it had a chance to dissolve before adding to the rest of the ingredients. As a result, it was blended more completely and I didn’t end up with those spots of espresso throughout. The resulting caramel is deeper in both flavour and colour.
I’ve written up instructions for both cooking methods, so you can use whichever you choose – don’t worry, they both taste great. Or just do like I did and make this recipe twice – for science!
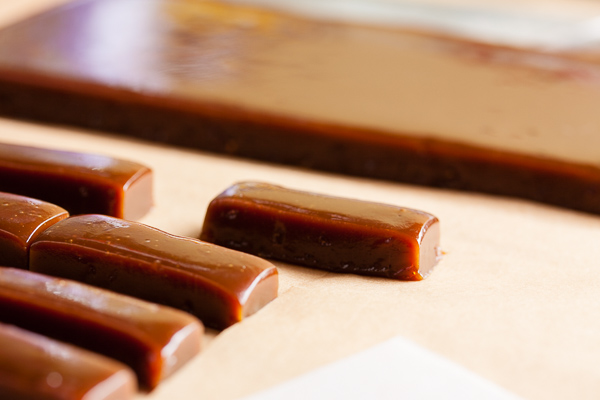
orange espresso caramels
Adapted from Martha Stewart's site. I cut the original recipe in half and modified the cooking instructions considerably for the second technique. Note: when cooking sugar, subtract 2°F from the target temperature for every 1000 ft above sea level.
ingredients
1 cup heavy cream
1 cup sugar
5/8 cup light corn syrup
3 tablespoons unsalted butter, cut into pieces
1/4 teaspoon pure vanilla extract
2 tablespoons instant espresso powder
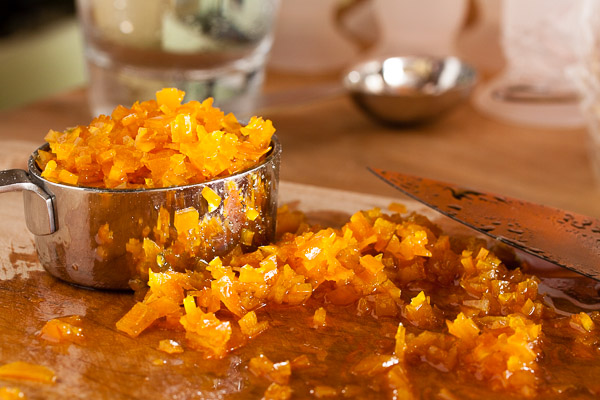
1/4 cup finely chopped candied orange peel (recipe here)
1/4 teaspoon coarse salt
Line an 8" square pan with parchment paper. If you don't have one, a 9" square will work, but the caramels will be a bit flatter. There's no need to oil the parchment as the caramels shouldn't stick. Set aside.
Now there are two ways you can approach this recipe:
cooking option 1
This is the one-step method, as instructed in the original recipe. Almost all of the ingredients go in the pot all at once and are cooked to the final temperature.
Choose a large (3 to 4 quart) heavy-weight saucepan to cook your caramel in – it needs to be large enough to accommodate the bubbling up that will happen (it will bubble up a lot), but deep is better than wide so your thermometer will be covered by enough volume to register an accurate temperature (most digital thermometers have a guideline indicating minimum depth).
Combine the cream, sugar, corn syrup, and butter in this large saucepan and bring to a boil. Reduce the heat to medium-high and continue to cook until your thermometer reads 248°F.
Once it reaches temperature, you need to work quickly as the temperature will continue to rise.
Remove from the heat and add the vanilla, espresso powder, orange peel, and salt. Stir well to combine and then pour the mixture into your pan – carefully, it's very hot. Don't scrape the bottom or sides of the pot in case there are some hard bits (I scraped this stuff off onto a separate piece of parchment for myself).
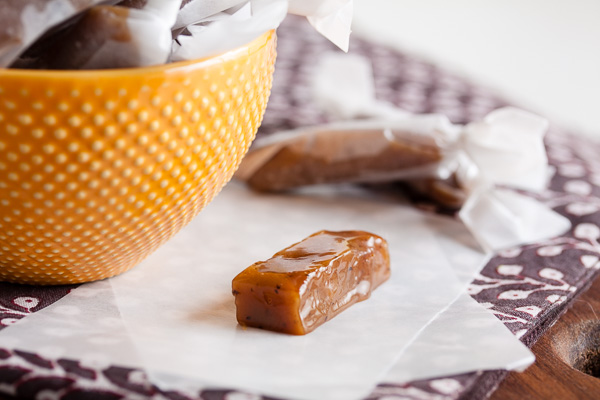
Allow to sit for at least a couple hours, preferably overnight. Once the caramel has set, you can cut it into squares or rectangles and wrap in pieces of parchment paper or wax paper. If you're lazy like me, you can buy them pre-cut.
cooking option 2
This is the two-step method, my preferred caramel cooking technique. This will generally produce a firmer caramel (which is a consideration in a high-humidity area like Vancouver), but also gives you more control over caramelization of the sugar itself. It really is just one more step – all you're doing is heating the sugar separately before adding the balance of the ingredients – not complicated at all.
Combine the cream, vanilla extract, and espresso powder in a medium-sized saucepan. Stir well to combine and heat until scalding (not boiling). Set aside to add to the caramel mixture later.
Choose a large (3 to 4 quart) heavy-weight saucepan to cook your caramel in – it needs to be large enough to accommodate the bubbling up that will happen (it will bubble up a lot), but deep is better than wide so your thermometer will be covered by enough volume to register an accurate temperature (most digital thermometers have a guideline indicating minimum depth).
Combine the sugar, corn syrup, and 1/4 cup water in this large saucepan and heat over medium heat until the sugar has melted. Raise heat to high and bring to a boil. Using a pastry brush and some cold water, brush down the sides of the pot to ensure any sugar crystals that may be clinging to the edge are melted. Alternately, you could put the lid on the pot and let it boil for a couple minutes covered – the steam that builds up under the lid will also melt away the sugar crystals. Do not stir the sugar at this point. Stirring may cause recrystallization. Instead, just gently swirl the pan a few times.
You can just cook the sugar to anywhere between 245°F and 320°F, but if you'd like a darker, less sweet caramel (YUM), ignore the thermometer for now and continue to cook the sugar until it's amber coloured and it begins to give off a bit of smoke – the bubbles should have reduced in size by this point too. Remove the pot from the burner and allow to sit and continue to caramelize off-heat until desired level of caramelization is reached. A lighter colour will give you a sweeter caramel, while a darker colour will give you a more bitter caramel. It's totally a matter of taste (I cooked mine to about the colour of a shiny penny).
Once you're happy with the colour, pour the cream mixture into the sugar and add your thermometer to the pot. Return it to the burner, bring to a boil and add the butter and candied orange peel.
Continue cooking over high heat, whisking constantly until it reaches 248°F. Normally I'll cook my caramels to a slightly higher temperature because the humidity is usually quite high in Vancouver, but 248°F worked perfectly for me.
Once it reaches temperature, you need to work quickly as the temperature will continue to rise.
Remove from the heat and stir in the salt. Pour the mixture into your pan – carefully, it's very hot. Don't scrape the bottom or sides of the pot in case there are some hard bits (I scraped this stuff off onto a separate piece of parchment for myself).
Allow to sit for at least a couple hours, preferably overnight. Once the caramel has set, you can cut it into squares or rectangles and wrap in pieces of parchment paper or wax paper. If you're lazy like me, you can buy them pre-cut.





Leave a Reply