I won’t bore you all with the details, but one thing led to another, yadda yadda yadda, and I found myself doing a caramel exchange with candy-maker extraordinaire, Yummy Little Treats. I was lucky enough to work with this lovely woman a few years ago, but somehow never managed to get to try her caramels that everyone always raved about (seriously, so much raving). I’m honestly not sure how I kept missing out. But now’s my chance! Woo! But oh, the pressure! The bar is set so high! So do I make a recipe I’ve tried before and know is good? Or do I take a risk and try a new recipe? Trust me, I fretted over this dilemma for a few days…
In the end, I decided to stick with the theme of this blog and try a new recipe. This is an exchange, not a competition, right? Besides, how could there possibly be a loser when there are delicious treats involved? But at the same time, I didn’t want YLT to get a raw deal, so I did choose a recipe from a source I trust. Martha. I’ve made a few of her caramels so far, and every one has turned out great. So I crossed my fingers and took a leap of faith, and chose a recipe that I’ve had bookmarked for awhile…
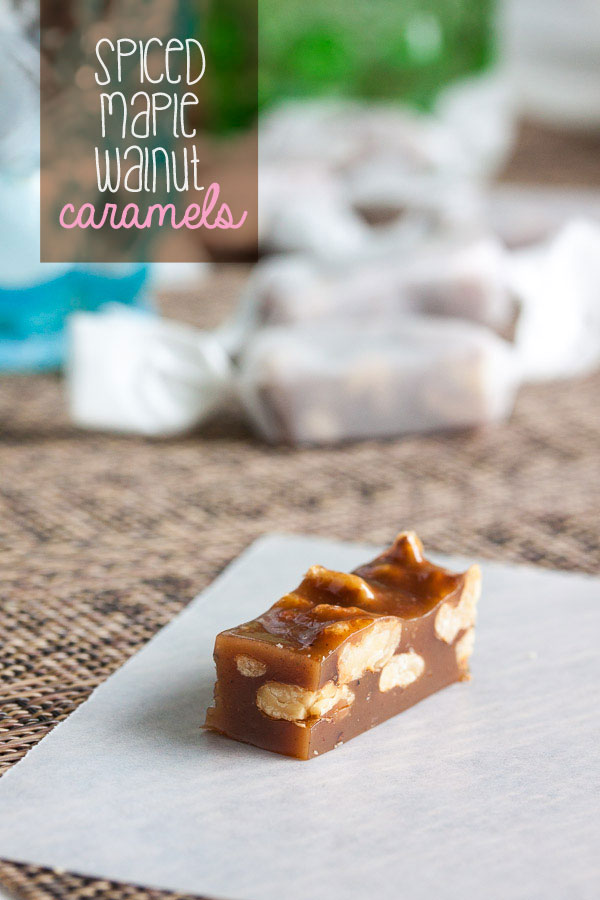
Like most caramel recipes, this one makes a huge amount (even once I’d cut the original recipe by half), so I had plenty of extras to share with my coworkers as well. Which turned out to be a good thing. Because this? Is a good caramel.
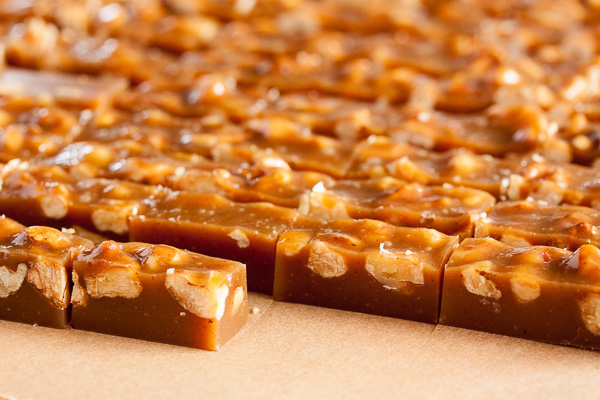
Normally I prefer a two-stage cooking method, but apparently it’s not all about me (whaaaat?) so this time around I cooked the caramel exactly as directed, with all the sugars and cream and butter in the pot right at the beginning – this will generally give a sweeter caramel than the two-stage method, where you can heat the sugar on its own and caramelize it first before adding the dairy. Apparently other people like sweet things. Pffft. Whatever…
Do I need to say that I found these too sweet for my taste? Yeah. But other people loved them. One of my coworkers told me I should be selling these. I found the maple flavour really strong, but another coworker said she didn’t really taste the maple much at all. Another person said he tasted cinnamon first, while another said he tasted the cloves. One person says she didn’t really like the texture of the nuts in there, while another said she loved the contrasting textures! I really love how everyone has a different take on it. It’s all so subjective. All you can do is trust your own tastebuds.
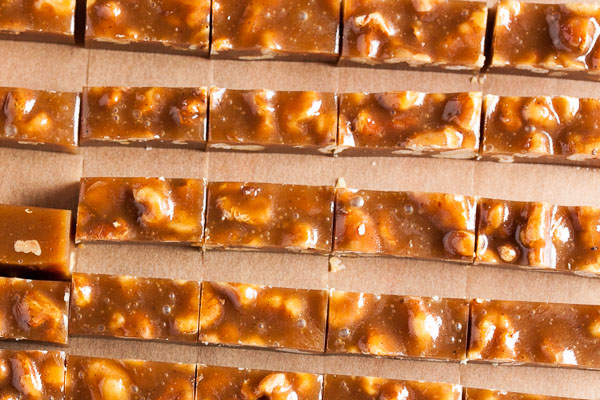
But in the end, this caramel was overwhelmingly popular. Even with all the caramels from YLT in the office at the same time (omg, SO GOOD), AND cookies, nothing lasted long. And as much as I’d love to show you the caramels I got from YLT, I can’t – because they were all eaten before I could even consider taking a picture. But oh, my, they were so good. The raving was well-deserved. Soft, chewy, salted chocolate caramels. It’s like she read my mind. Swoon! Thanks MC!
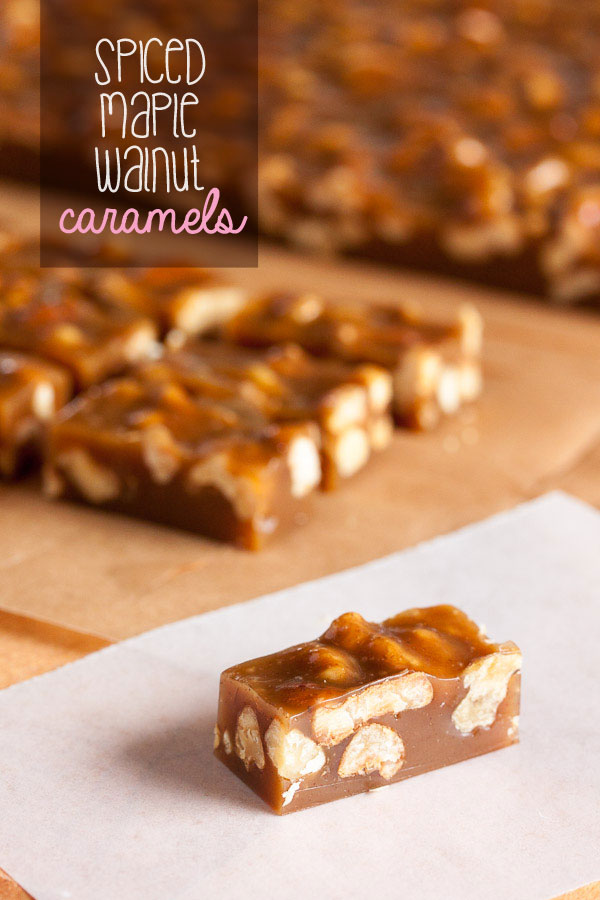
spiced maple walnut caramels
Adapted from "Maple Walnut Spice Caramel Candies" from Martha Stewart's site. I cut the original recipe in half and got lots of caramels. Note: when cooking sugar, subtract 2°F from the target temperature for every 1000 ft above sea level.
ingredients
1 cup heavy cream
3/4 cup packed light brown sugar
3 tablespoons unsalted butter
1/2 cup light corn syrup
3/8 cup pure maple syrup
1/4 teaspoon pure vanilla extract
1/2 teaspoon cinnamon
1/4 teaspoon nutmeg
1/8 teaspoon ground cloves
pinch of cayenne pepper
1/4 teaspoon coarse salt
1 cup toasted walnuts
Line an 8" square pan with parchment paper. If you don't have one, a 9" square will work, but the caramels will be a bit flatter. There's no need to oil the parchment as the caramels shouldn't stick. Set aside.
To toast the nuts, spread them in a single layer on a baking sheet and toast them in a 350°F oven for approximately 10 minutes, turning the walnuts every few minutes or so to cook evenly. Trust your senses – they'll start to smell fragrant when they're ready. You can do this step and then set them aside while you cook the caramels.
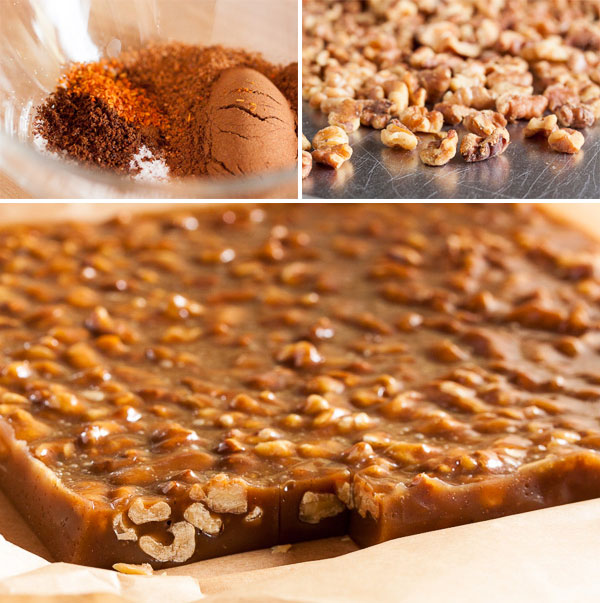
Pre-measure all your spices and have them ready to add to the caramel later. Set aside.
Choose a large (3 to 4 quart) heavy-weight saucepan to cook your caramel in – it needs to be large enough to accommodate the bubbling up that will happen (it will bubble up a lot), but deep is better than wide so your thermometer will be covered by enough volume to register an accurate temperature (most digital thermometers have a guideline indicating minimum depth).
Combine the cream, sugar, butter, corn syrup, and maple syrup in this large saucepan and bring to a boil. Reduce the heat to medium-high and continue to cook until your thermometer reads 248°F.
Once it reaches temperature, you need to work quickly as the temperature will continue to rise as long as it's in the hot saucepan.
Remove from the heat and add the vanilla, spices, and walnuts. Stir well to combine and then pour the mixture into your pan – carefully, it's very hot. Don't scrape the bottom or sides of the pot in case there are some hard bits (I scraped this stuff off onto a separate piece of parchment for myself – this way you can test the caramel without having to wait for the entire pan to set!).
Allow to sit for at least a couple hours, preferably overnight. Once the caramel has set, you can cut it into squares or rectangles and wrap in pieces of parchment paper or wax paper. If you're lazy like me, you can buy them pre-cut.



Leave a Reply