Because I’m a sap, I really wanted to make some heart-themed cookies for Valentine’s day this year. I missed last year, but in the past I’ve made sparkling sugar cookie hearts and heart-shaped linzer cookies. I didn’t want to just do another heart-shaped cookie cutter this year though (not to mention the fact that all my cookie cutters are still buried in a box somewhere). And then I thought of those delicious jam thumbprints I made for our cookie exchange in December. Remember I was wondering why I only ever see them at that time of year? So I decided to extend their season a bit, and make them heart-shaped.
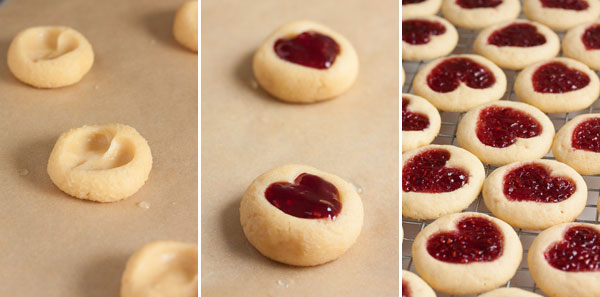
I did some googling and found a few methods for making heart-shaped jam cookies. One involves rolling two balls and forming them into a heart. That seemed awfully complicated to me (read: I’m too lazy for that). Some people actually used heart-shaped stamps to impress the shape in the dough, but I don’t have one of those. In the end, I decided to just do the same thing I always do when I’m making jam thumbprints – I used my fingers. I just poked my finger in a couple times to make the tops of the hearts and then when I added the jam, I used the spoon to extend them to a point at the bottom. I think they turned out pretty great!
Adding to the adventure is that I used a new cookie recipe for this one, and I had absolutely no idea how much it would spread (or not). The last ones I made spread a little bit, but really not much. But based on how much butter is in this recipe (lots), I was expecting some spread. And yes, yes there was quite a bit of spreading. Happily there was absolutely no jam leakage! And the hearts held their shape pretty well.
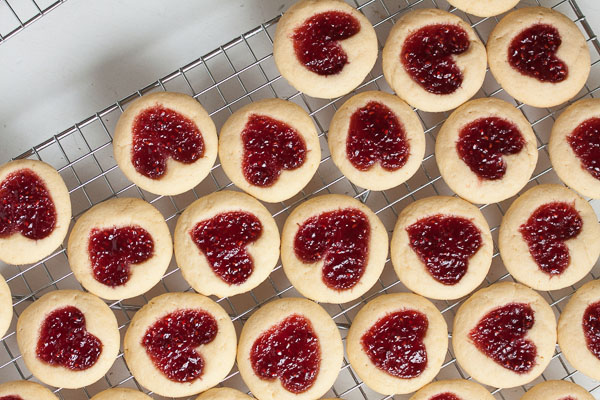
The dough was ridiculously sticky (because of all that butter). Last time I made thumbprints, I recommended making the impression immediately after rolling the balls while the dough was still soft from your hands. This time I went the other direction – I rolled all the balls and then went back and made the impressions when the dough was slightly firmer. I also wet my fingers before handling the dough – this will help prevent it from sticking to your hands. Trust me, it helps.
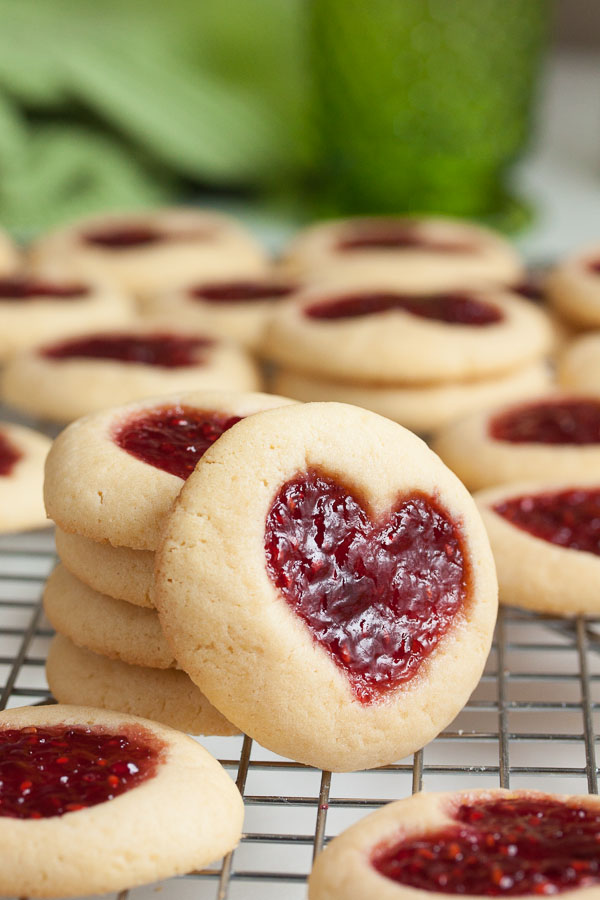
Remember how I thought it was weird that these cookies only seem to get made at Christmas-time when they’re always so popular? Yeah, everyone was suuuuuper excited to see them. I heard a lot of “omg!” and “delicious!” and “so buttery!!” Not to mention all the “ooooh, jammy dodgers!!” Yup. Lots of happy happy coworkers this week.
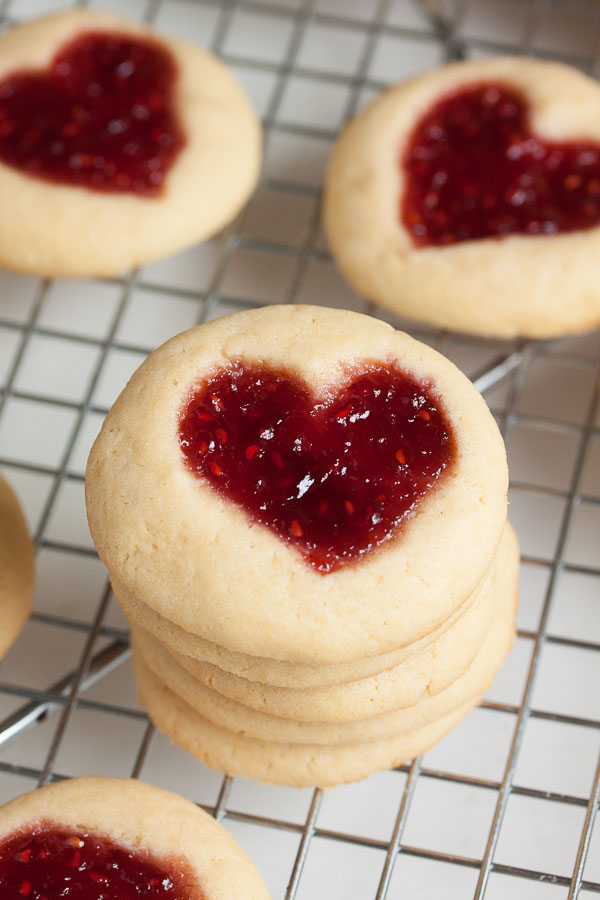
heart-shaped jam thumbprint cookies
Adapted from "Thumbprints" from Cookies at Home with The Culinary Institute of America by Todd Knaster. The original recipe says it will make about 3 dozen small cookies, but I got 54 cookies when I made the balls about 1" diameter.
ingredients
1-1/2 cups (340g) unsalted butter at room temperature
1 cup (120g) confectioners (powdered) sugar
1/4 teaspoon salt
1 large egg
1 large egg yolk
1 teaspoon pure vanilla extract
3 cups (300g) cake flour, sifted
about 1-2 cups raspberry jam (or other red or pink coloured fruit jam)
Preheat oven to 350°F (177°C).
I'm usually pretty lazy when it comes to sifting ingredients, preferring instead to just whisk them well instead. But both confectioners sugar and cake flour can be pretty lumpy and really benefit from sifting.
In the bowl of a stand mixer fitted with the paddle attachment, beat the butter, sugar, and salt together on medium speed until light and fluffy, about 3 or 4 minutes. Start slow so the powdered sugar doesn't fly up too much. Scrape down the sides of the bowl and add the eggs, one at a time, beating well after each. Add the vanilla and beat to incorporate.
Turn the mixer down to low and add the flour, mixing until just barely combined.
Roll the dough into balls about 1" diameter and place about 2" apart on the baking sheet. These cookies will spread a bit, so they do need a bit of breathing room. I found this dough to be really soft and sticky, so I rolled all the balls first, and then went back and made the indentations. I also wet my fingers with cool water to help prevent the dough from sticking to them.
You can just make a simple indentation for regular thumbprint cookies, or you can make a heart-shape like I did by making two overlapping indentations with your fingers. I sharpened the point of the heart with the spoon I used to add the jam.
Fill each indentation with the jam of your choice – stir it first to smooth it out. If you'd like it really smooth, you can use a food mill or sieve to remove the seeds. As the cookies bake and spread out, the jam will flatten out a bit as well, so you'll want to slightly over-fill them. You don't want the jam to overflow, but it should be a bit rounded rather than level with the top of the cookie.
Bake for about 10-12 minutes, until lightly golden brown around the edges, rotating the baking sheet halfway through the baking time. Allow to cool on a wire rack for a few minutes before removing the cookies from the pan and allowing them to cool completely.









[…] Heart-Shaped Jam Thumbprint Cookies | Wanna Come […]
Did you chill the dough before shaping, filling and baking? Wetting fingers worked (thanks for that tip) but they are one sticky spready mess in the oven! I meticulously weighed and sifted.
Hi Joyce – I’m sorry to hear you had problems with spreading, but that seems to be a common issue with thumbprint cookies. I didn’t need to refrigerate this one at all. It’s possible my butter was just colder already. If you decide to try these again, you might want to try refrigerating the dough, or even adding a touch more flour. Let me know if you do. 🙂
[…] Heart-Shaped Jam Thumbprint Cookies | Wanna Come With? […]