I’ve mentioned the last couple weeks that it’s unseasonably hot here in Vancouver. It’s still stupid hot. My kitchen was well above 30°C this weekend (that’s 86°F for you Americans). That? Is way too hot to be using the oven. Honestly, I didn’t even want to use my stove, but I’ve made a commitment to deliver a new treat each week, so I had to suck it up. Right? Ugh, right. And since the oven is out of the question, that means it’s no-bake season. Woo!
Last year I was lamenting my lack of no-bake recipes, so for the past year I’ve kept an eye out and pinned lots of no-bake recipes. Lots. You guys, I have so many recipes I want to try! I’m actually kinda excited about it (/nerd). It’s also popsicle season, and I’ve got tons of popsicle recipes I’m dying to try too. I need a bigger freezer…
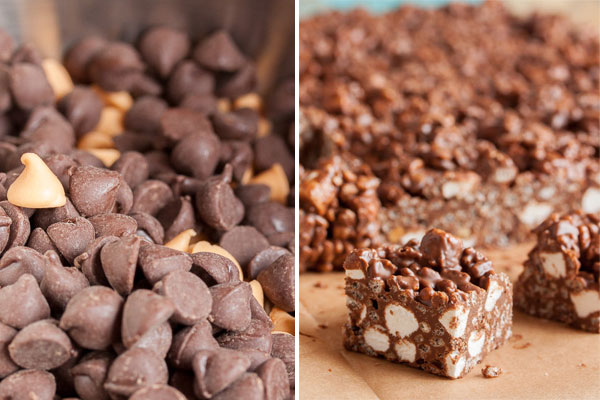
When I think Rocky Road Bars, I think of these dense, creamy, chocolate-y bars studded with peanuts and marshmallows that I found at a local coffee shop. They’re amazingly good, but decadently rich. It’s not something you can eat often. I’ve been keeping an eye out for a recipe that sounds similar to those, and I have found a few. I’ve also found different variations – other types of nuts, other inclusions, with and without butterscotch and peanut butter. I came across one that was very similar to what I ended up making today, but I wasn’t crazy about a couple of the ingredients, and I didn’t totally agree with the proportions of the others. But overall, the combination of flavours sounded good. So that was my starting off point.
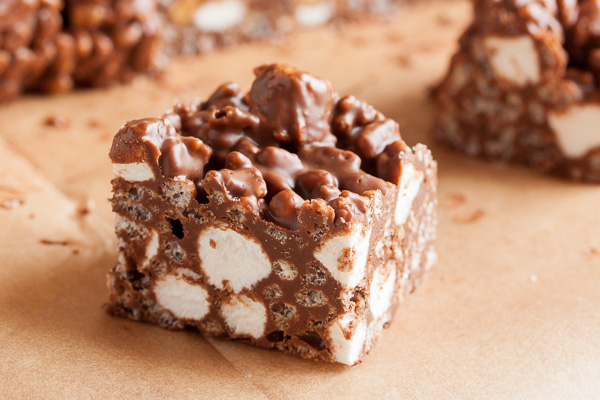
Once I started making them, however, I totally winged it – adding a little more of this, a little more of that, until I got something that looked good and tasted good.
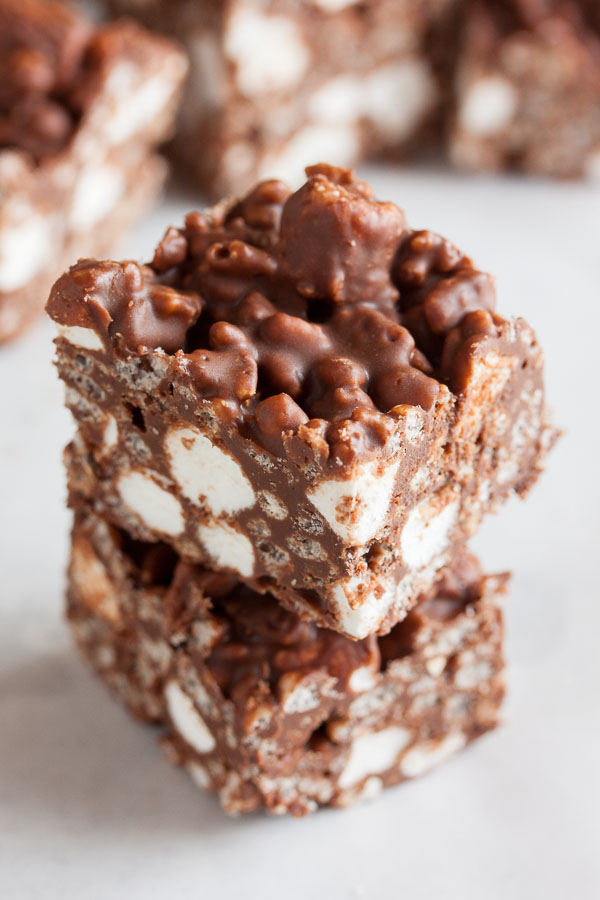
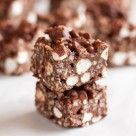
And these bars are really really good. Every time I eat one (which is often), I immediately have to eat another. The chocolate and butterscotch and peanut butter work really well together, the cereal gives it a great crunchy texture, and the marshmallows offer little bursts of fluffy sweetness. I’m not saying I ate the whole pan, but oh boy, I certainly could have.
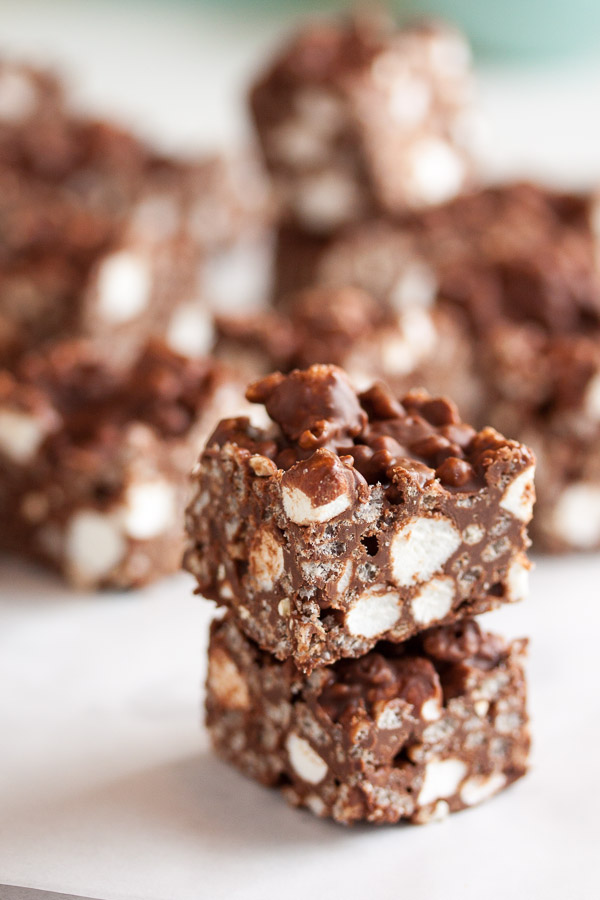
crispy rocky road bars
This is a recipe that was inspired by several others and cobbled together on-the-fly. They'll keep best in the fridge, but are still okay at room temperature – just a bit soft (as long as it's not too hot).
ingredients
2 cups semisweet chocolate chips
2 cups butterscotch chips
1 cup peanut butter
6 cups crisp rice cereal
4 cups miniature marshmallows
Line a 9" x 13" pan with parchment paper or wax paper.
Gently melt together the chocolate and butterscotch chips. You can do this by combining them in a microwave-safe bowl and heating in the microwave 15-30 seconds at a time, stirring well after each burst of heat until smooth. Or in the top of a double-boiler or in a heat-proof bowl set over a pot of simmering water. I usually melt chocolate very, very carefully in a heavy saucepan over very low heat, stirring frequently until the chocolate is just melted. Chocolate can scorch really easily, so best to do this slowly and gently.
Once melted, add the peanut butter and stir until smooth.
Remove from the heat and add the cereal, stirring until it's completely coated with chocolate.
Then add the marshmallows and stir until they're evenly distributed. The reason I waited to add the marshmallows was to give the melted chocolate a chance to cool down slightly so they didn't just melt into the mixture – you want whole marshmallows in your bars.
Pour the mixture into your prepared pan and even it out with a spatula. Refrigerate until firm, then slice into squares.
These bars will keep best in the fridge, but I kept them at warm room temperature for several days and they were fine, just a bit soft.



Hi Laurel,
When will you add this to your Facebook page so I can Share it with my followers? 😉
thanks,
–Kathy
Hi Kathy! Have I mentioned how much I appreciate you sharing my posts with your followers? I really do. And I love seeing what else you have to share too. 🙂
The post is up now, but please feel free to post directly if I haven’t updated my Facebook page yet. 🙂
Just made this, is awesome! Thank you 🙂
Hi Marlo – I’m so glad you enjoyed them! I’m kinda craving some right now, to be honest 😉
Has anyone tried freezing these?